My garage is long overdue for a makeover so I decided to tackle it one wall at a time. This east wall will be the new home for my Milwaukee Packout Tool Boxes, a video backdrop area, and an area for using my table saw & miter saw.
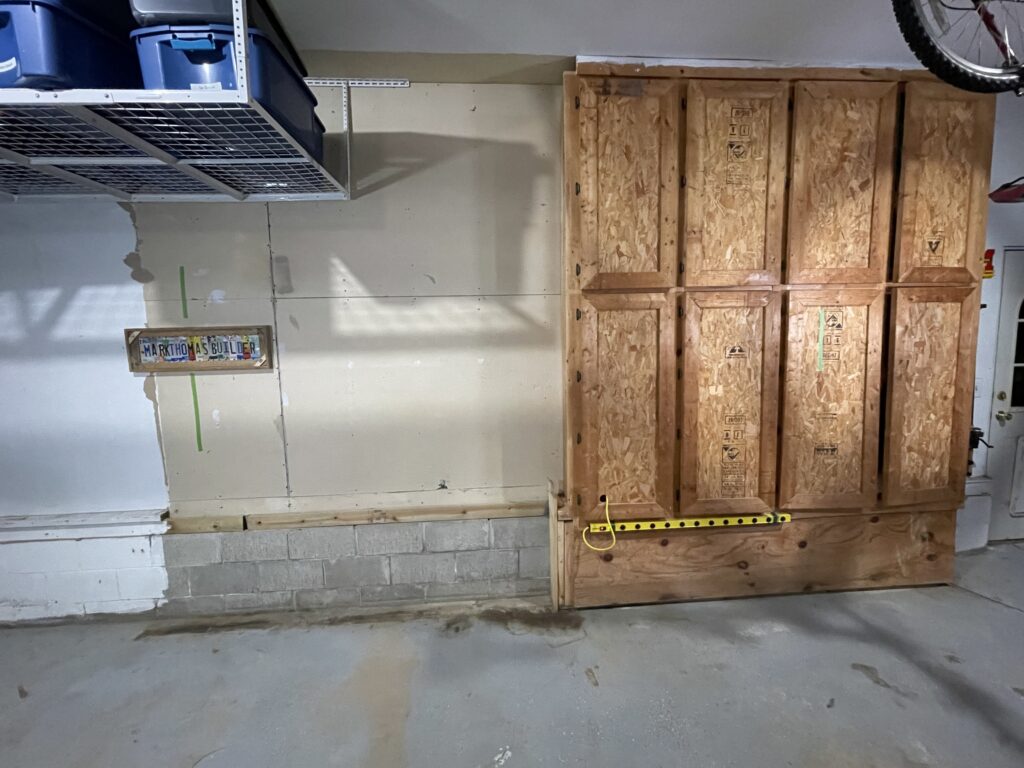
The Milwaukee Packout 20 in. Tote holds all my hand tools necessary to remove the old cabinets off my wall. This area will be the new home to my hardwood plank wall used for future video recordings. The wall needs some prep work before the Weaber boards get installed.
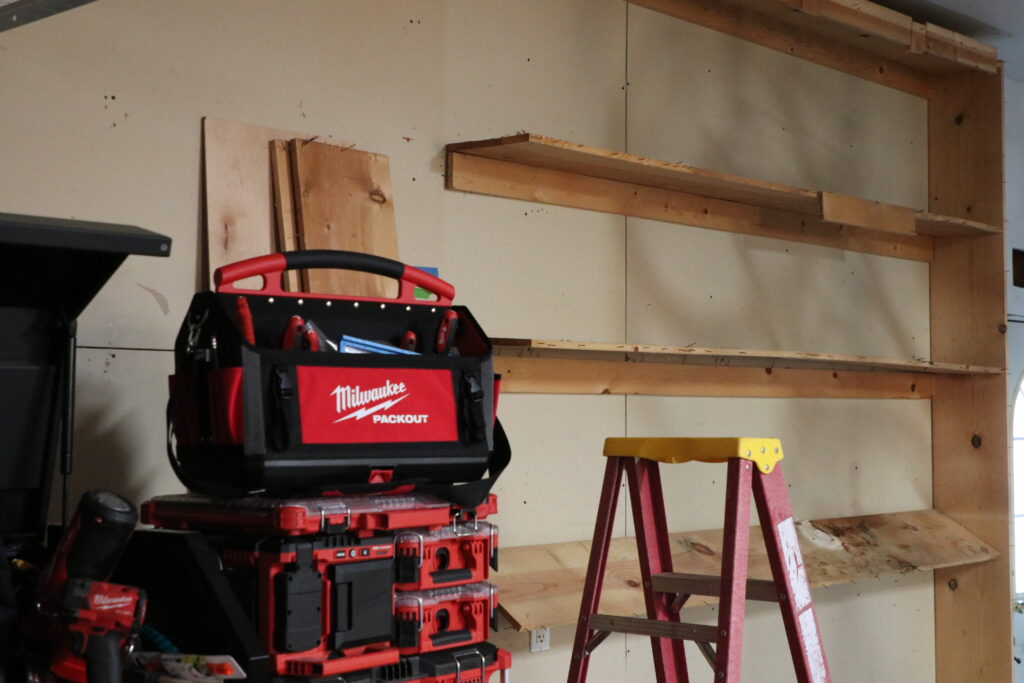
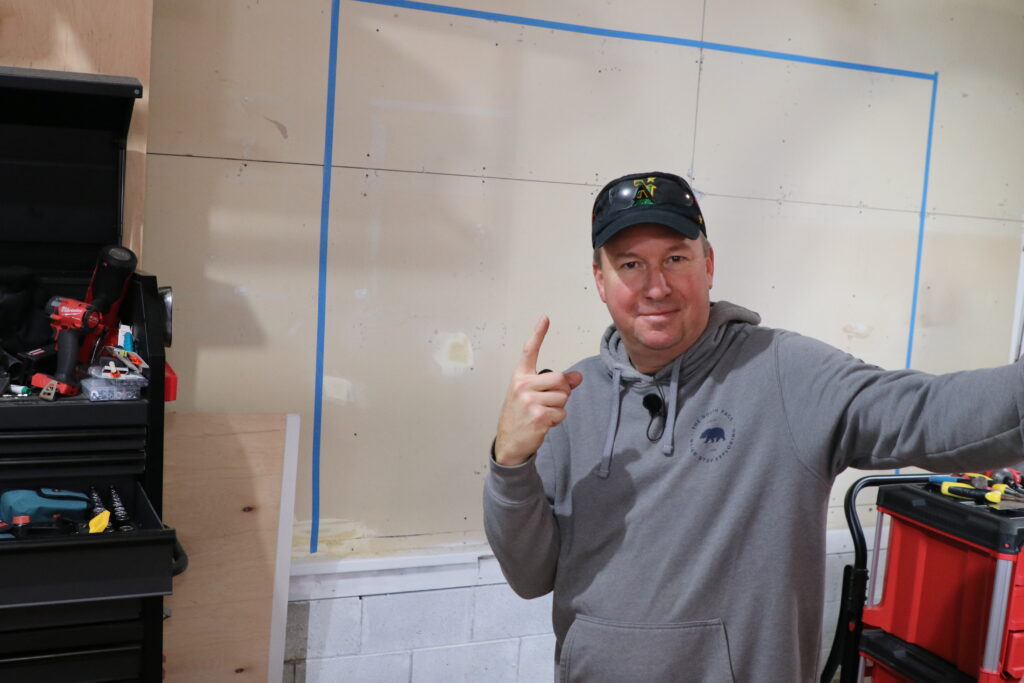
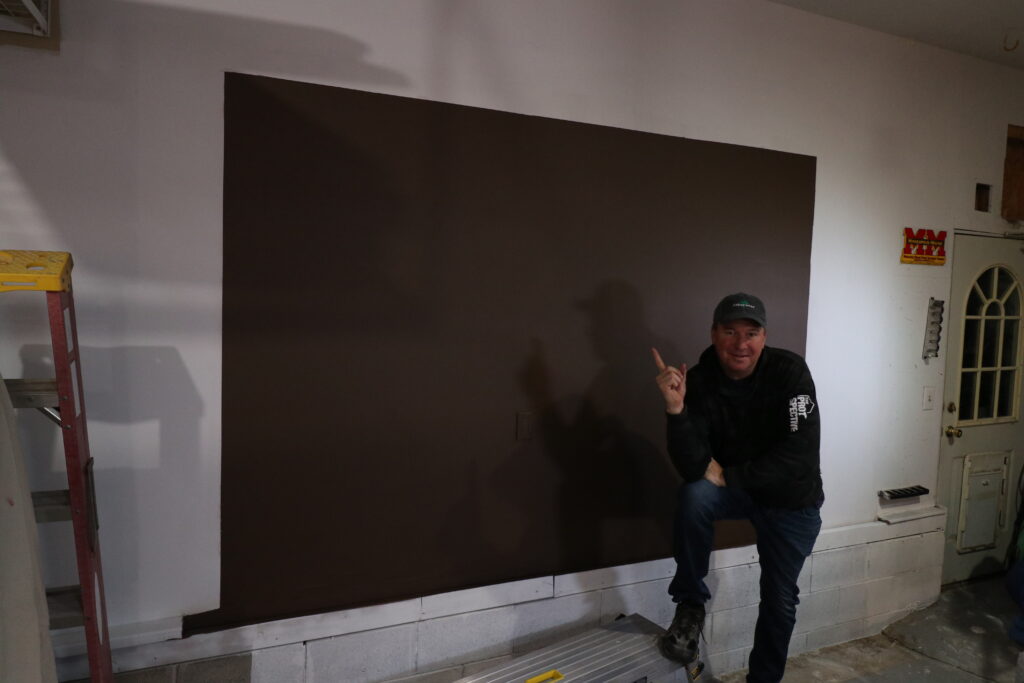
The drywall behind the cabinets has never been primed, painted, or even had the joints finished. I decided to do all that work before installing the boards. The project took several days because the drywall mud needed to dry in between coats. Once the drywall was completed and primed, I picked out some Behr paint that complimented the new wall boards.
I used Behr Marquee paint in a matte finish. The color for the wallboard background is Chocolate Swirl. I gave this a day to dry before installing the wallboards.
I purchased the Weaber Wallboards from The Home Depot. They come in several color varieties. I decided to use 4 boxes of Wheat and 2 boxes of Weatherwood. I used a 2′ and 4′ Milwaukee Box Level to help me keep each row level. There were some gaps between the rows due to the wood imperfection. The unique pieces add character to this style of wall. It’s important to pick out a complimenting paint color behind the wood and I’m very happy with my choice.
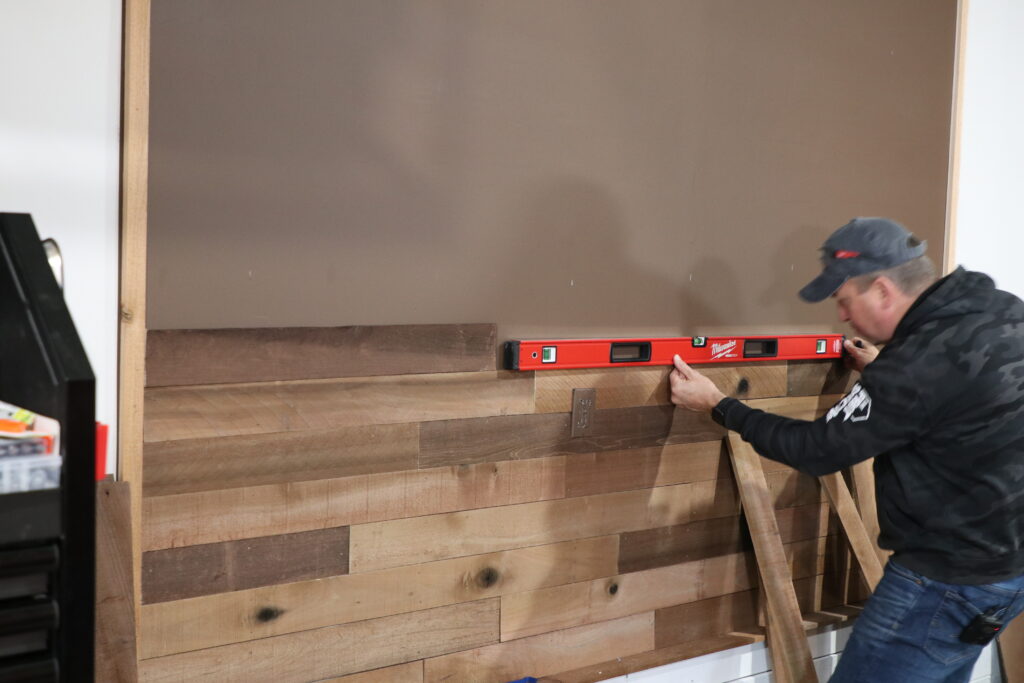
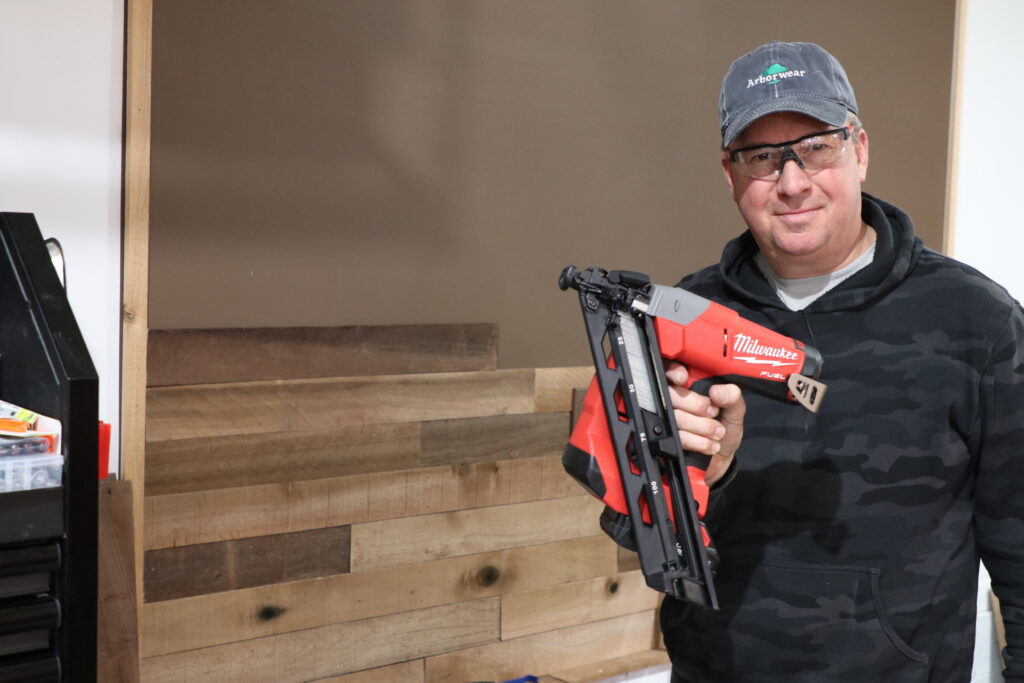
I chose to fasten the wallboards with this Milwaukee M18 FUEL 15 gauge Nailer. I used 1-1/2 in. nails, which did a great job of holding each board in place. I had a slight wave in my wall from the drywall joint, so I feel like the 15 gauge nails work better than 18 gauge. An optional item to use on these wall boards is construction adhesive. I plan on these boards being there for many years, so I consider this a permanent installation. If you’re installing these on a more temporary basis, then I recommend not using construction adhesive.
I’m very happy with the way the wall turned out. I made sure to stagger the seams and tried to keep the color pattern in random order.
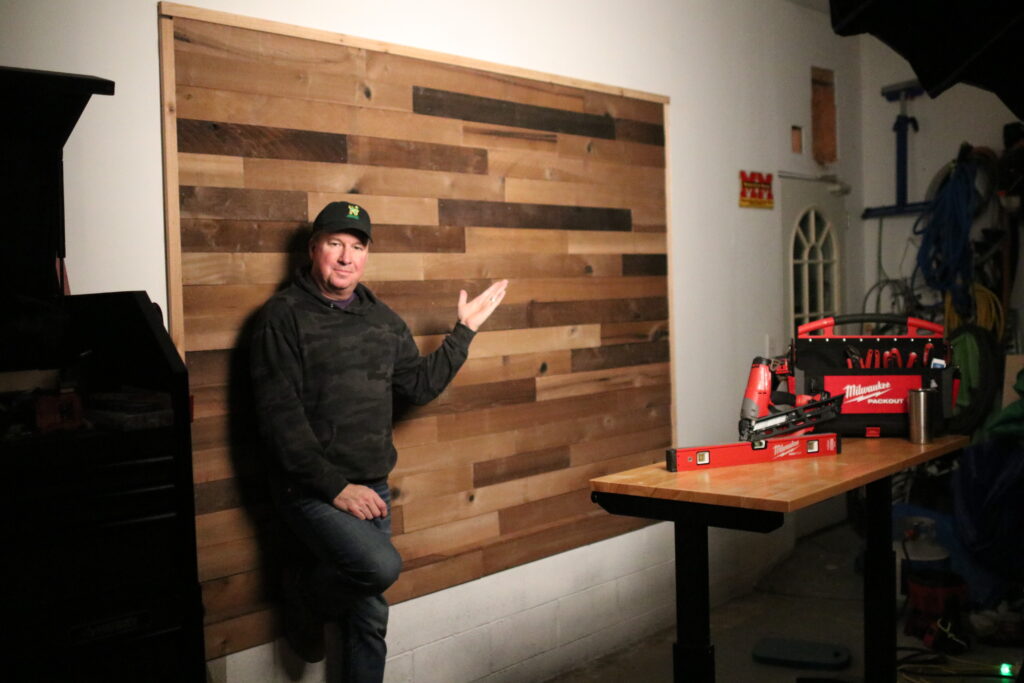
I’m very happy with the final results. What do you think?
See the whole project on my YouTube channel here.


